

"Gardening is a blissful and tranquil
experience altogether." :) Well, those of you who have had their own
gardens would definitely be able to relate to my statement. However, I have met
many, who are literally afraid to garden, either because they fear they need to
know a lot and invest a lot into having a garden of their own or they need a
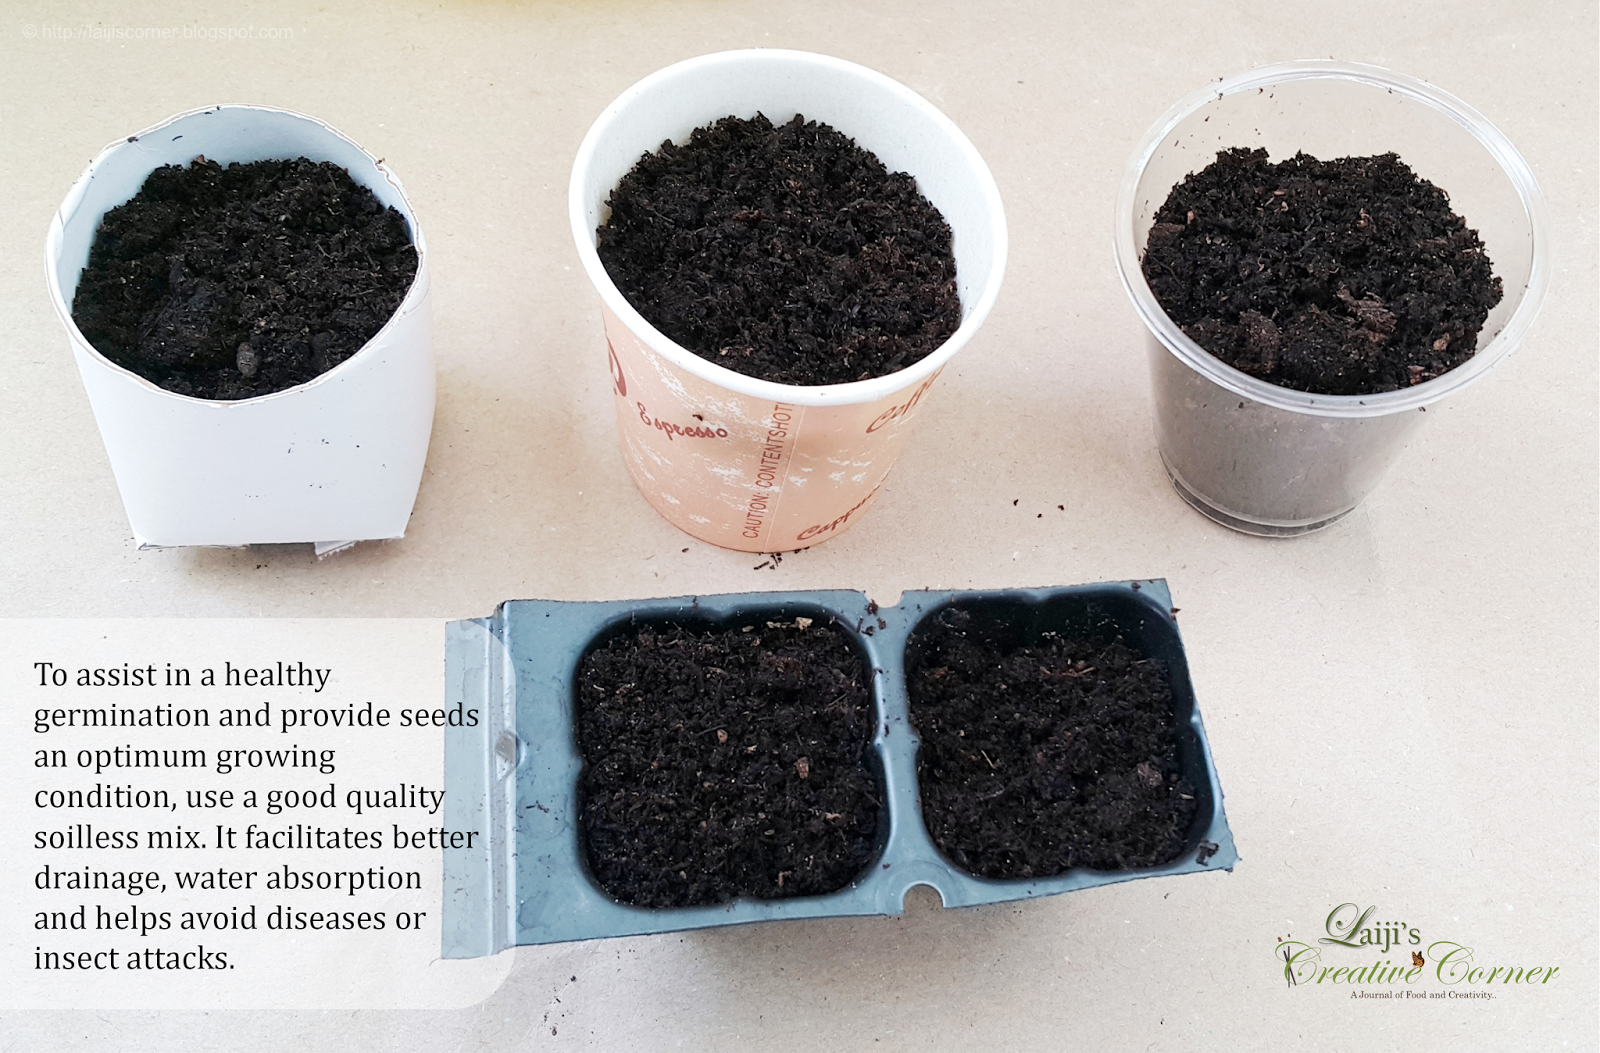
lot of "SPACE". Nooo! you don't!! All you really require is a safe
window sill or a balcony would be even great!! A couple of pots, some potting
mix, some seeds or vegetable cut-outs from your kitchen and of course water is
all you really need for a simple start!! :D If it works for you, and is indeed
developing a tranquil experience, well, then it's the most blissful and
satisfying hobby ever! :)


Well, if you have been wanting to garden, but, don't
know where to really start from.. Then, here you are.. at the right place and
at the right time of the year to start anew! :) Your very own Garden can soon
turn into a reality.. :)


To transplant a plant into a pot, gently slide the
plant out of the container, by lightly pressing the sides and tapping the
bottom to loosen the root ball if necessary. Then, into a pot with potting mix,
make a small hole and set the seedling into it and fill in around the roots
with soil. Water it moderately and then add more soil if needed to completely
fill the hole.

Different seeds germinate differently.
Therefore, even transplanting time would vary from plant to plant.
Some plants do not really require much care. But,
some plants require time to time fertilizing, shielding from insects
and diseases and even artificial insemination during the
flowering stage. Well, that's an entirely different story altogether, which is
truly a learning experience and nothing that needs to be panicked about. Let's
not complicate things at the beginning itself.. ;)

Another option is to buy seedlings, perennials or fully grownup plants
from plant nurseries or the farmer's market. The advantage of doing so, is that
you can personally inspect the plants to make sure they are healthy. However,
here's a guide to inspecting perennials that are displayed and picking the best
for your garden.
1. Do not pick a plant with yellow or wilted leaves. This is an indication
of illness or improper watering.
2. Frail stemmed plants or a plant with its roots crawling out of the pot
bottom are signs that the plant has been growing in a starting pot for far
longer than it should. Avoid such plants.
3. If you discover weeds in a container, chances are that it has already
begun slowly robbing the plant of its required nutrients. Avoid them too.
4. Do not pick a perennial which already has many flowers. This could be an
indication that the plant has exhausted most of its energy into blooms and may
easily die off when transplanted.

As soon as you have brought home your new
perennials, water them slightly and allow them to settle into the new
atmosphere for a day or two.
Then, fill a clean pot with pot mix and prepare a
planting hole. Gently slide the plant out of the container, by
lightly pressing the side of the container and tapping the bottom to loosen the
root ball if necessary. But, never remove any parts of the root. Set the
seedling into the hole and fill in around the roots with soil. Press down the surrounding soil so that
it is firmly anchored in place. Water
it moderately, yet, well soaked and then add more soil if needed to completely
fill the hole. If you are using a
watering hose, make sure that the force of the water does not expose out the
roots of your new plant.
Make sure you do not place the newly transplanted
plant under direct sunlight for the first couple of days. Every new plant is
fragile, and needs time to settle in.
Hope this post has inspired you to start your own
little garden. Trust me, "Gardening is
a blissful and tranquil experience altogether." :)
Wishing you a blissful gardening experience.. :)
Stay Happy! :)


